I was reading about California history in the early 1900s, and I came across this book:
 |
| ISBN 0-06-440081-6 |
It is a collection of letters from Laura Ingalls Wilder (some are written by her daughter, Rose Wilder Lane) to her husband, Almanzo Wilder. Ms. Wilder traveled from her home in the Ozarks to visit Rose and her husband, Gillette Lane, in 1915. While there, Ms. Wilder visited the Panama-Pacific International Exposition. When she returned home, she wrote an article about it for the Missouri Ruralist in November 1915.
Click here to view a image of the first page of the article.
And click here to see a list of the articles she wrote.
And click here to see the entire article. This is a PDF so look at pages 20 - 22.
Thank you to pioneergirl.com for compiling all this information!
In it, she discussed the modern upgrades for food preparation as well as imported foods she saw and tasted in the Food Products Building. It made her reflective, in that the imported items from far away places were intriguing, but then she realized that the wheat and other farm products she was familiar with were also being exported to those exotic locations.
She noticed, too, for example, that she had always seeded and cleaned raisins by hand, but she saw machines that seeded, steam-cleaned, and packaged raisins much faster than she had thought possible.
Ms. Wilder also included recipes from some of the booths she visited, which were mostly breads from various cultures. The one that caught my attention was on page 123.
German Honey Cake
One cup honey, molasses, or syrup; 1/2 cup sugar, 2 cups flour, 1 teaspoon cinnamon, 1 teaspoon ginger, 1 teaspoon cloves, 2 teaspoons baking powder. Beat honey and sugar 20 minutes, then add the spices, the baking powder, and lastly the flour. Pour into well-buttered baking sheets and bake 15 minutes in a moderate oven. Cover with chocolate icing and cut in squares.
My Notes
Notice this makes cookie or cake bars, but does not require any eggs or added fats, like butter. It struck me as an unusual recipe, so I started looking around the internet for more information.
What I learned was that this recipe, given to us in 1915, had a connection to recipes made in Germany 400 years ago. This blog, Researching Food History, has a post on Lebkuchen that uses almost the same ingredients. It does not have baking powder, as that hadn't been invented yet. I looked around at some of my cookbooks and found a similar recipe that calls for potash as a leavening. But in the 1500s recipe, there was no leavening at all.
I knew I had to try Ms. Wilder's recipe.
As per the instructions, I beat the honey and sugar together for 20 minutes, using the lowest speed on my mixer.
 |
| Before mixing |
 |
| After 20 minutes of mixing |
It appeared that the long mixing time gave the sugar a chance to dissolve somewhat into the moisture of the honey.
Then I mixed in the spices with just a few turns of the beater, and then the baking powder. Finally, I put in the flour and mixed it just enough to make a stiff dough.
 |
| With spices and baking powder. |
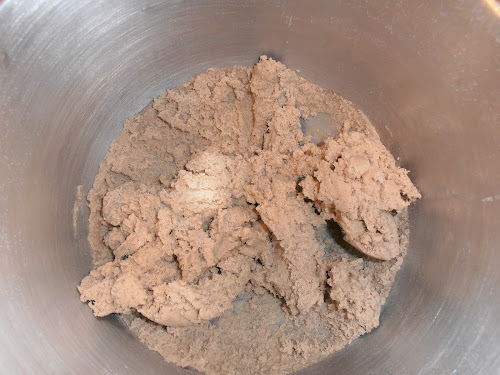 |
| The dough |
Note that I did not get a batter that could "pour" into well-buttered baking sheet. It was a very stiff dough. I buttered my hands and pushed it around the 10 inch by 15 inch baking sheet until it was a thin layer that reached all the way to the edges.
 |
| It took a lot of pushing! |
Then I baked it at 350 degrees F for 15 minutes.
 |
| It looks great! |
When it came out of the oven, it cooled while I made the chocolate glaze, using the recipe from this site.
 |
| Just add water. |
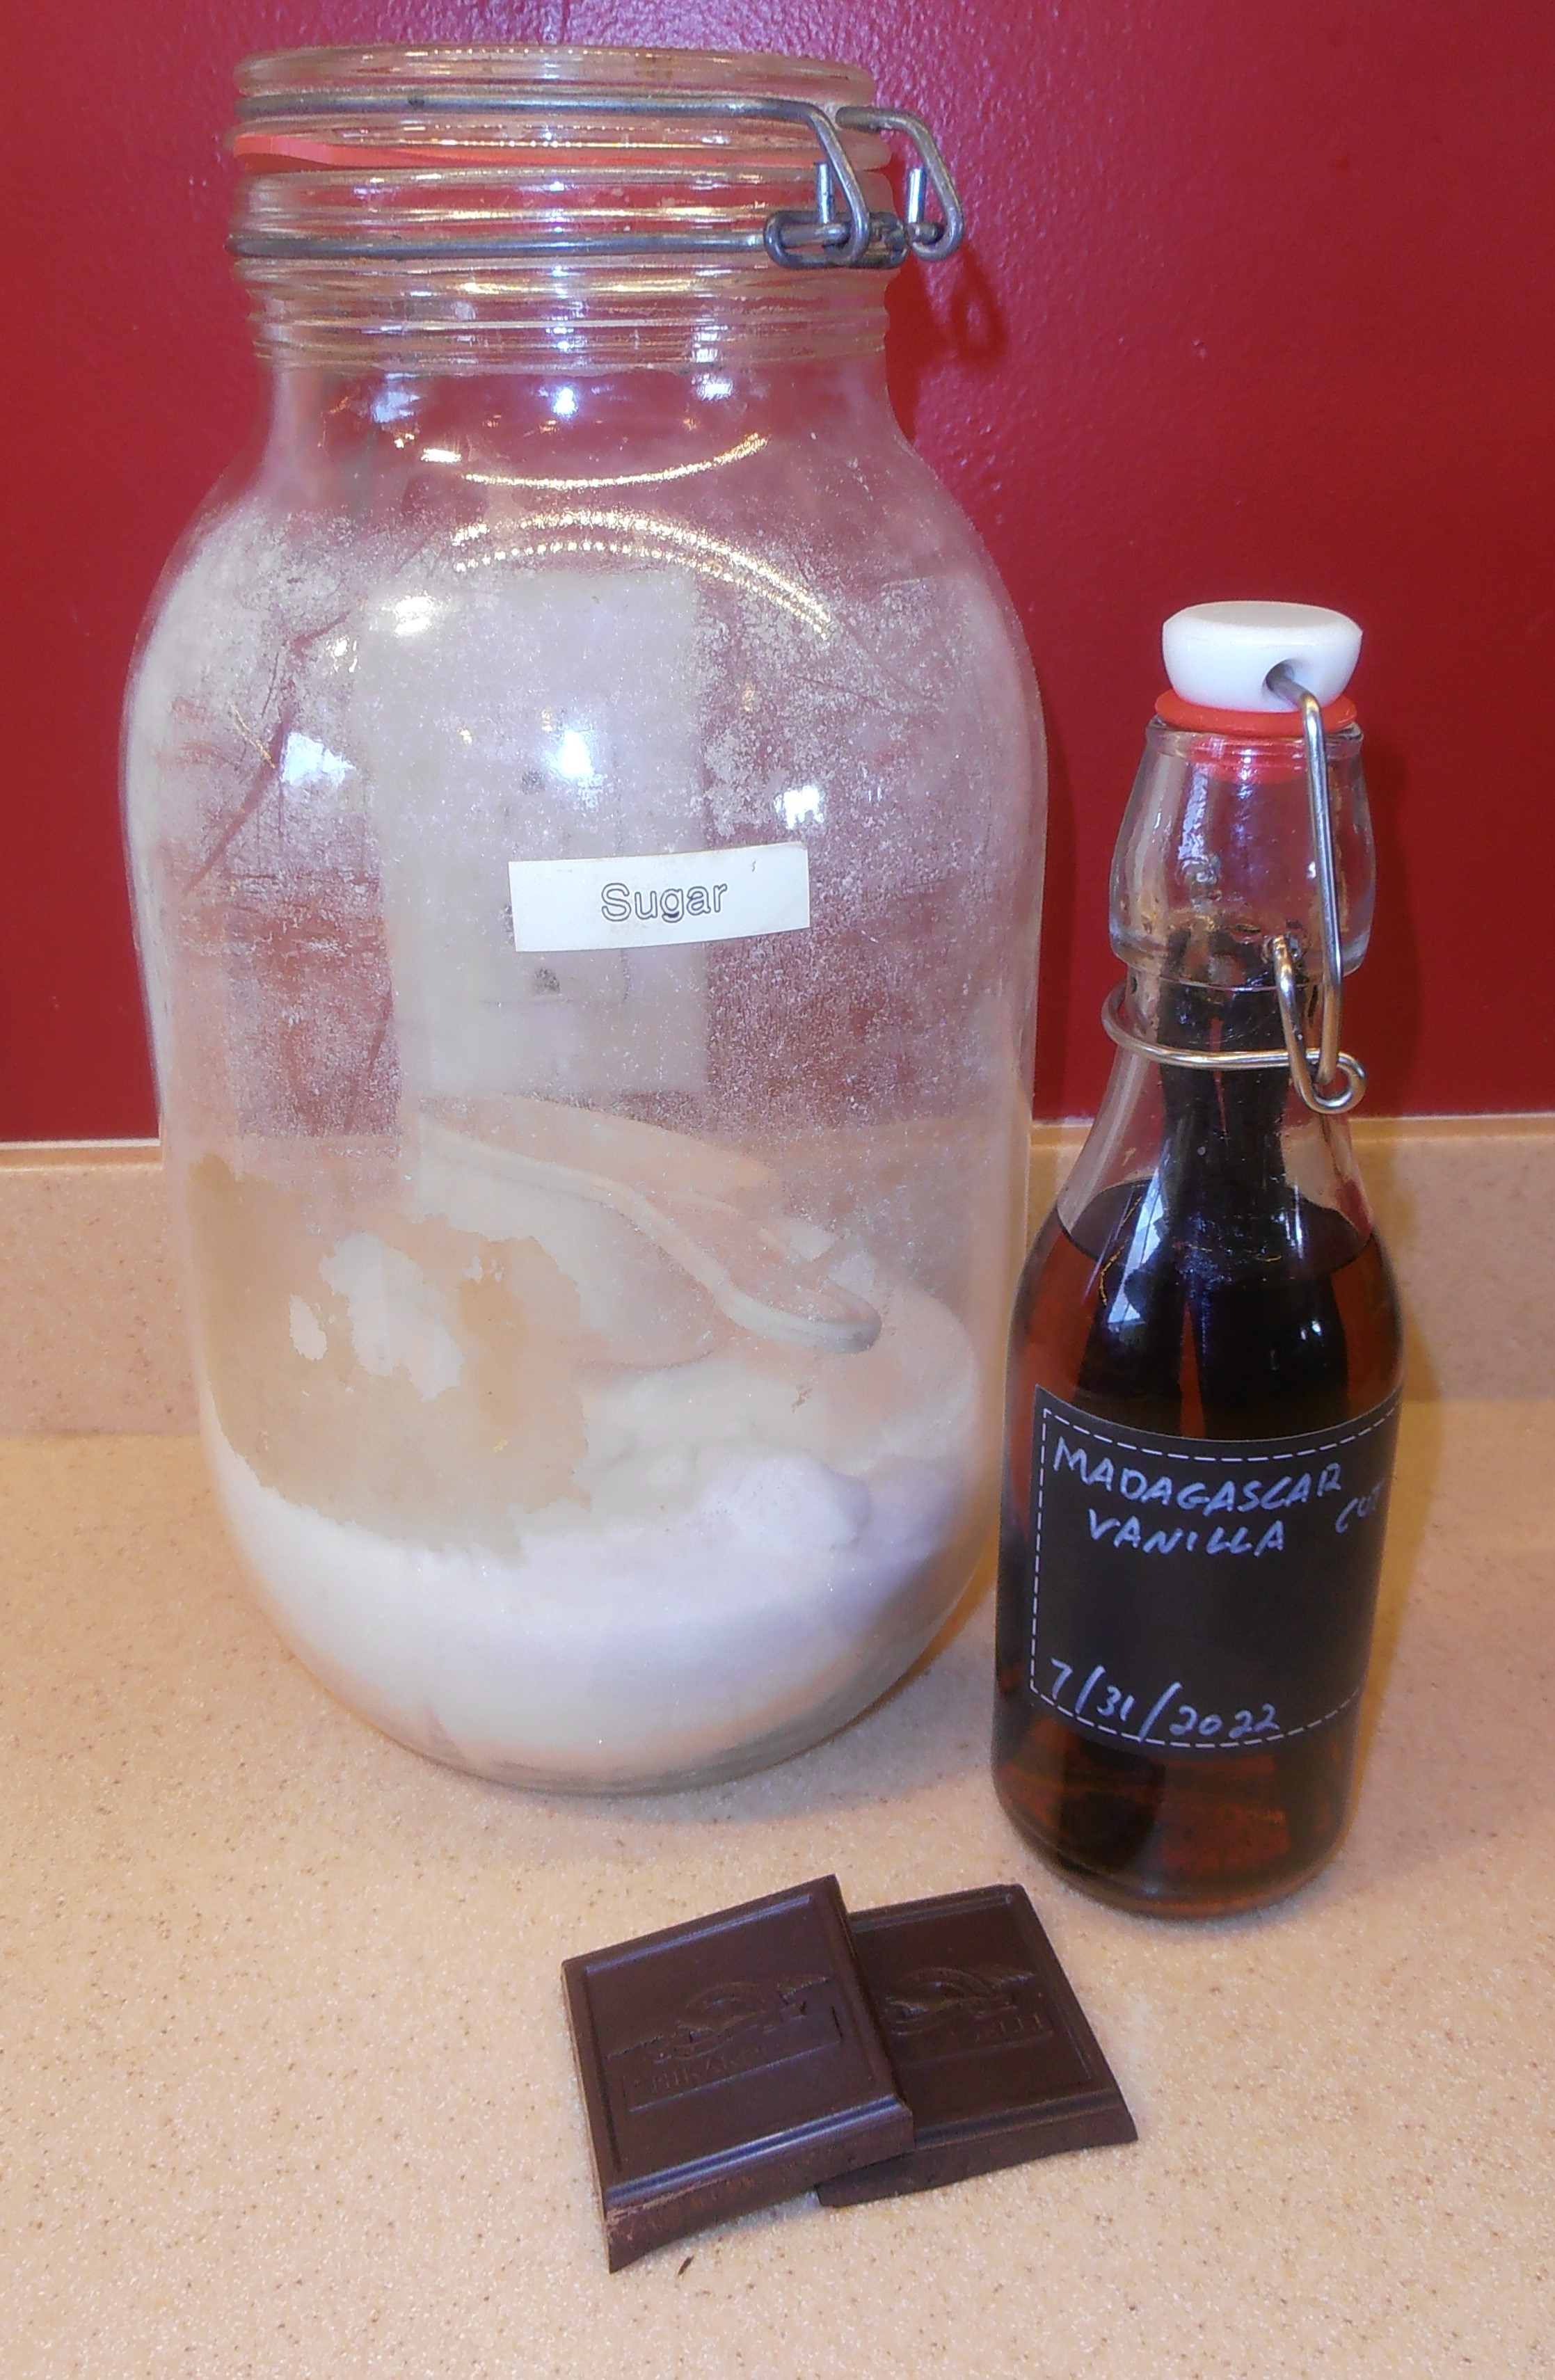
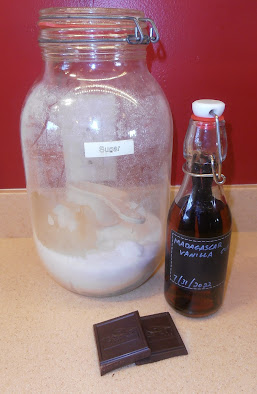
1 cup sugar
2 Tablespoons (1 ounce) baking chocolate, chopped
1/4 teaspoon vanilla
a little water
Boil it until it threads. Pour over cake. Let it sit in a warm oven to get a nice sheen.
My Notes
Thread stage is 215 to 235 degrees F.
I wasn't sure what "a little water" was, so I put in just enough to melt the sugar and start the cooking process. It didn't take long to get to 230 degrees, which is when I poured it on the honey cake, spread it, and then put it in the still warm oven for about 8 minutes.
 |
| Just a splash of water. Not enough. |
 |
| More water, to make it flow. |
 |
| At about 230 degrees |
The Verdict
It looked good, despite the poor job I did of making the glaze. You can see that the glaze sugared, and did not spread easily. I probably should have used more water to get it started, and then only cooked it to 215 or 220 degrees F. But the glaze stuck to the honey cake, so I was happy with that.
Now for the cake.
Well, frankly, it was pretty hard. I had to really work to cut a square out of the corner for a taste test. Once it was out, it was hard to bite into. Not impossible, but certainly challenging.
 |
| A good picture but not a good eat. |
But I could bite it, so I can report on the flavor. The spices came through! They were warming and balanced, and strong enough to make the little cake square interesting without being too strong. My guest taster described it as "zesty!" The chocolate glaze was a good choice -- I could taste the chocolate but it mixed with the spices for a good blend. My guest taster said, "You can certainly taste the chocolate, but the spices, too."
But oh, it was so hard. I wondered if her recipe called for too much flour. If it was supposed to be a batter I could pour, then too much flour would be the reason it was so stiff. Still, I had seen other recipes around the internet that talked about "pounding the dough into the pan."
Another thought I had was how the recipes emphasized letting the baked cake or cookies "age" for a day or two, to let the flavors develop. I wondered if mine would soften by absorbing moisture from the air. Then, perhaps, I could cut it.
So I waited. The next day, it was a little softer: easier to cut and to bite, but still too hard to make me happy. The flavors seemed better developed, but I was not sure. The second day of sitting out on the counter really showed very little change. It was, perhaps, a tiny bit softer. It was stressful on my jaw to bite into it.
I've given this a lot of thought, and I compared Ms. Wilder's recipe to others I've seen that were similar. My conclusion is that her recipe calls for too much flour. One recipe has a ratio of 2 parts honey and sugar syrup to 1 part flour, so Ms. Wilder's recipe should call for 1/2 cup flour instead of 2 cups. That should make a batter than can spread.
I want to try that. If I can, I will, and it will be on a future post.
I can't really call it a success, although the chocolate frosting tastes great with the spices. If only the cake was softer!
Better luck next time. The spices do make my kitchen smell good.