I have to be honest with you -- I grew up hating mustard. I am still not fond of the basic yellow mustard but someone got me to try a honey mustard (that made my sweet tooth happy) and then I discovered this recipe in a booklet called Gifts from Your Kitchen, published by the Current company.
 |
| The recipe is on page 7 |
It is absolutely fabulous with smoked salmon, or you can try dipping chunks of cheese into it, or put it on sandwiches, or use your imagination because I don't think you can go wrong with it.
Sweet 'n' Hot Mustard
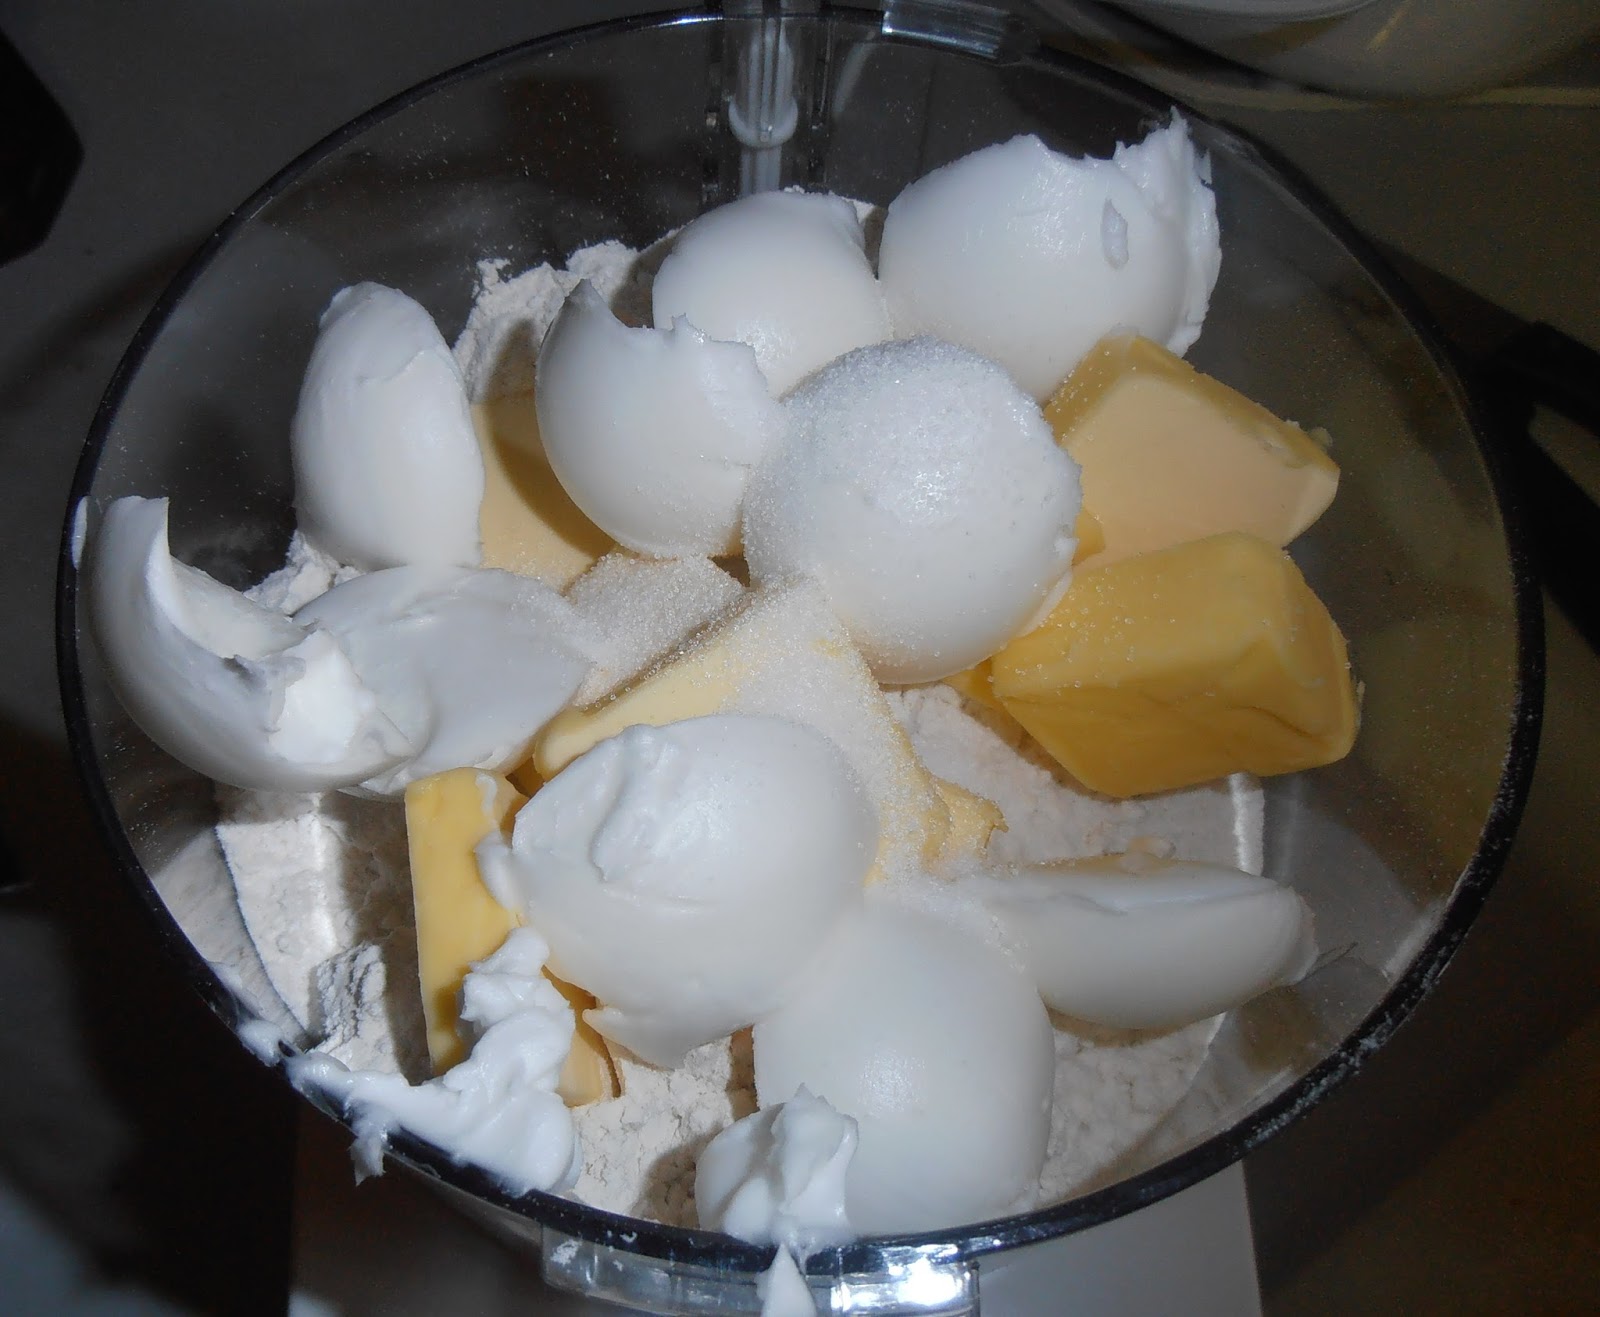
1 cup sugar
2/3 cup dry mustard
3 eggs, well beaten
2/3 cup white vinegar

Could this be any easier? The hardest part is standing there stirring constantly until the mixture gets thick, and believe me, you don't want to walk away from it. I don't think it has ever taken 10 minutes to get thick, though.
My advice: Have your gift containers (or whatever you plan on storing it in) ready before you start cooking. I usually put out more than I think will hold the recipe, just in case I need it. I prefer glass to plastic since the mix goes in pretty warm.
I see the process as three steps to making a good, smooth mustard: Whisking the mustard and sugar together helps to break up any clumps. Stirring in the vinegar and eggs (still using the whisk) is another opportunity to break up clumps. And finally, stirring with the wooden spoon gives you a final chance to smash any remaining bits with the back of the spoon against the side of the pan.
The dry mustard used here can be Coleman's Superfine Mustard or just mustard flour, which I get at a local store as a bulk item. It is not as fine textured as Coleman's but still makes a good mustard.
 |
| Mixed and ready for cooking |
 |
| After cooking -- smooth and thick |
The Verdict
Success! As the name tells you, it tastes both sweet and hot. Mustard hot, not like a chili pepper, and the sweet is inspiring, not cloying. Mustard with a kick and a sweet kiss.
If I didn't love this recipe, it wouldn't be on my favorites list. I'm not a big mustard fan but I am a big fan of this mustard. My mustard-loving friends think it is the best. I once shared this with a professional chef who was curious about the recipe -- he made it for the company he worked for and it went over quite well. He said people were excited to put it on their food.
Just remember that a little goes a long way. I wouldn't slather it on because it can overwhelm whatever you are putting it with.
I've used it as a spread but I've also put some in sauces (it is really good in a turkey gravy). I've also mixed it with crushed fresh rosemary and spread it on the outside of a chicken before roasting it. It smells heavenly while cooking and then the meat is flavored and slightly perfumed from the rosemary. The fire of the mustard is gone but I think the sugar in it carmelizes just a little, which is a lovely touch.
It makes a great gift any time of the year but especially at the holidays when people are eating ham, roast beef, and turkey. Just make sure the recipient knows to keep it in the refrigerator.
Merry Christmas!


 m
m b
b r)
r)