Wednesday, March 15, 2023

German Honey Cake via Laura Ingalls Wilder

 I was reading about California history in the early 1900s, and I came across this book:

ISBN 0-06-440081-6

It is a collection of letters from Laura Ingalls Wilder (some are written by her daughter, Rose Wilder Lane) to her husband, Almanzo Wilder.  Ms. Wilder traveled from her home in the Ozarks to visit Rose and her husband, Gillette Lane, in 1915.  While there, Ms. Wilder visited the Panama-Pacific International Exposition.  When she returned home, she wrote an article about it for the Missouri Ruralist in November 1915.  

Click here to view a image of the first page of the article.

And click here to see a list of the articles she wrote.

And click here to see the entire article. This is a PDF so look at pages 20 - 22.  

Thank you to pioneergirl.com for compiling all this information!

In it, she discussed the modern upgrades for food preparation as well as imported foods she saw and tasted in the Food Products Building.  It made her reflective, in that the imported items from far away places were intriguing, but then she realized that the wheat and other farm products she was familiar with were also being exported to those exotic locations. 

She noticed, too, for example, that she had always seeded and cleaned raisins by hand, but she saw machines that seeded, steam-cleaned, and packaged raisins much faster than she had thought possible.

Ms. Wilder also included recipes from some of the booths she visited, which were mostly breads from various cultures.  The one that caught my attention was on page 123.

German Honey Cake

One cup honey, molasses, or syrup; 1/2 cup sugar, 2 cups flour, 1 teaspoon cinnamon, 1 teaspoon ginger, 1 teaspoon cloves, 2 teaspoons baking powder.  Beat honey and sugar 20 minutes, then add the spices, the baking powder, and lastly the flour.  Pour into well-buttered baking sheets and bake 15 minutes in a moderate oven.  Cover with chocolate icing and cut in squares.


My Notes

Notice this makes cookie or cake bars, but does not require any eggs or added fats, like butter.  It struck me as an unusual recipe, so I started looking around the internet for more information.  

What I learned was that this recipe, given to us in 1915, had a connection to recipes made in Germany 400 years ago.  This blog, Researching Food History, has a post on Lebkuchen that uses almost the same ingredients.  It does not have baking powder, as that hadn't been invented yet.  I looked around at some of my cookbooks and found a similar recipe that calls for potash as a leavening.  But in the 1500s recipe, there was no leavening at all.  

I knew I had to try Ms. Wilder's recipe.

As per the instructions, I beat the honey and sugar together for 20 minutes, using the lowest speed on my mixer.  

Before mixing
After 20 minutes of mixing
It appeared that the long mixing time gave the sugar a chance to dissolve somewhat into the moisture of the honey.

Then I mixed in the spices with just a few turns of the beater, and then the baking powder.  Finally, I put in the flour and mixed it just enough to make a stiff dough.  

With spices and baking powder.

The dough
Note that I did not get a batter that could "pour" into well-buttered baking sheet.  It was a very stiff dough.  I buttered my hands and pushed it around the 10 inch by 15 inch baking sheet until it was a thin layer that reached all the way to the edges.
It took a lot of pushing!

Then I baked it at 350 degrees F for 15 minutes.  

It looks great!

When it came out of the oven, it cooled while I made the chocolate glaze, using the recipe from this site.
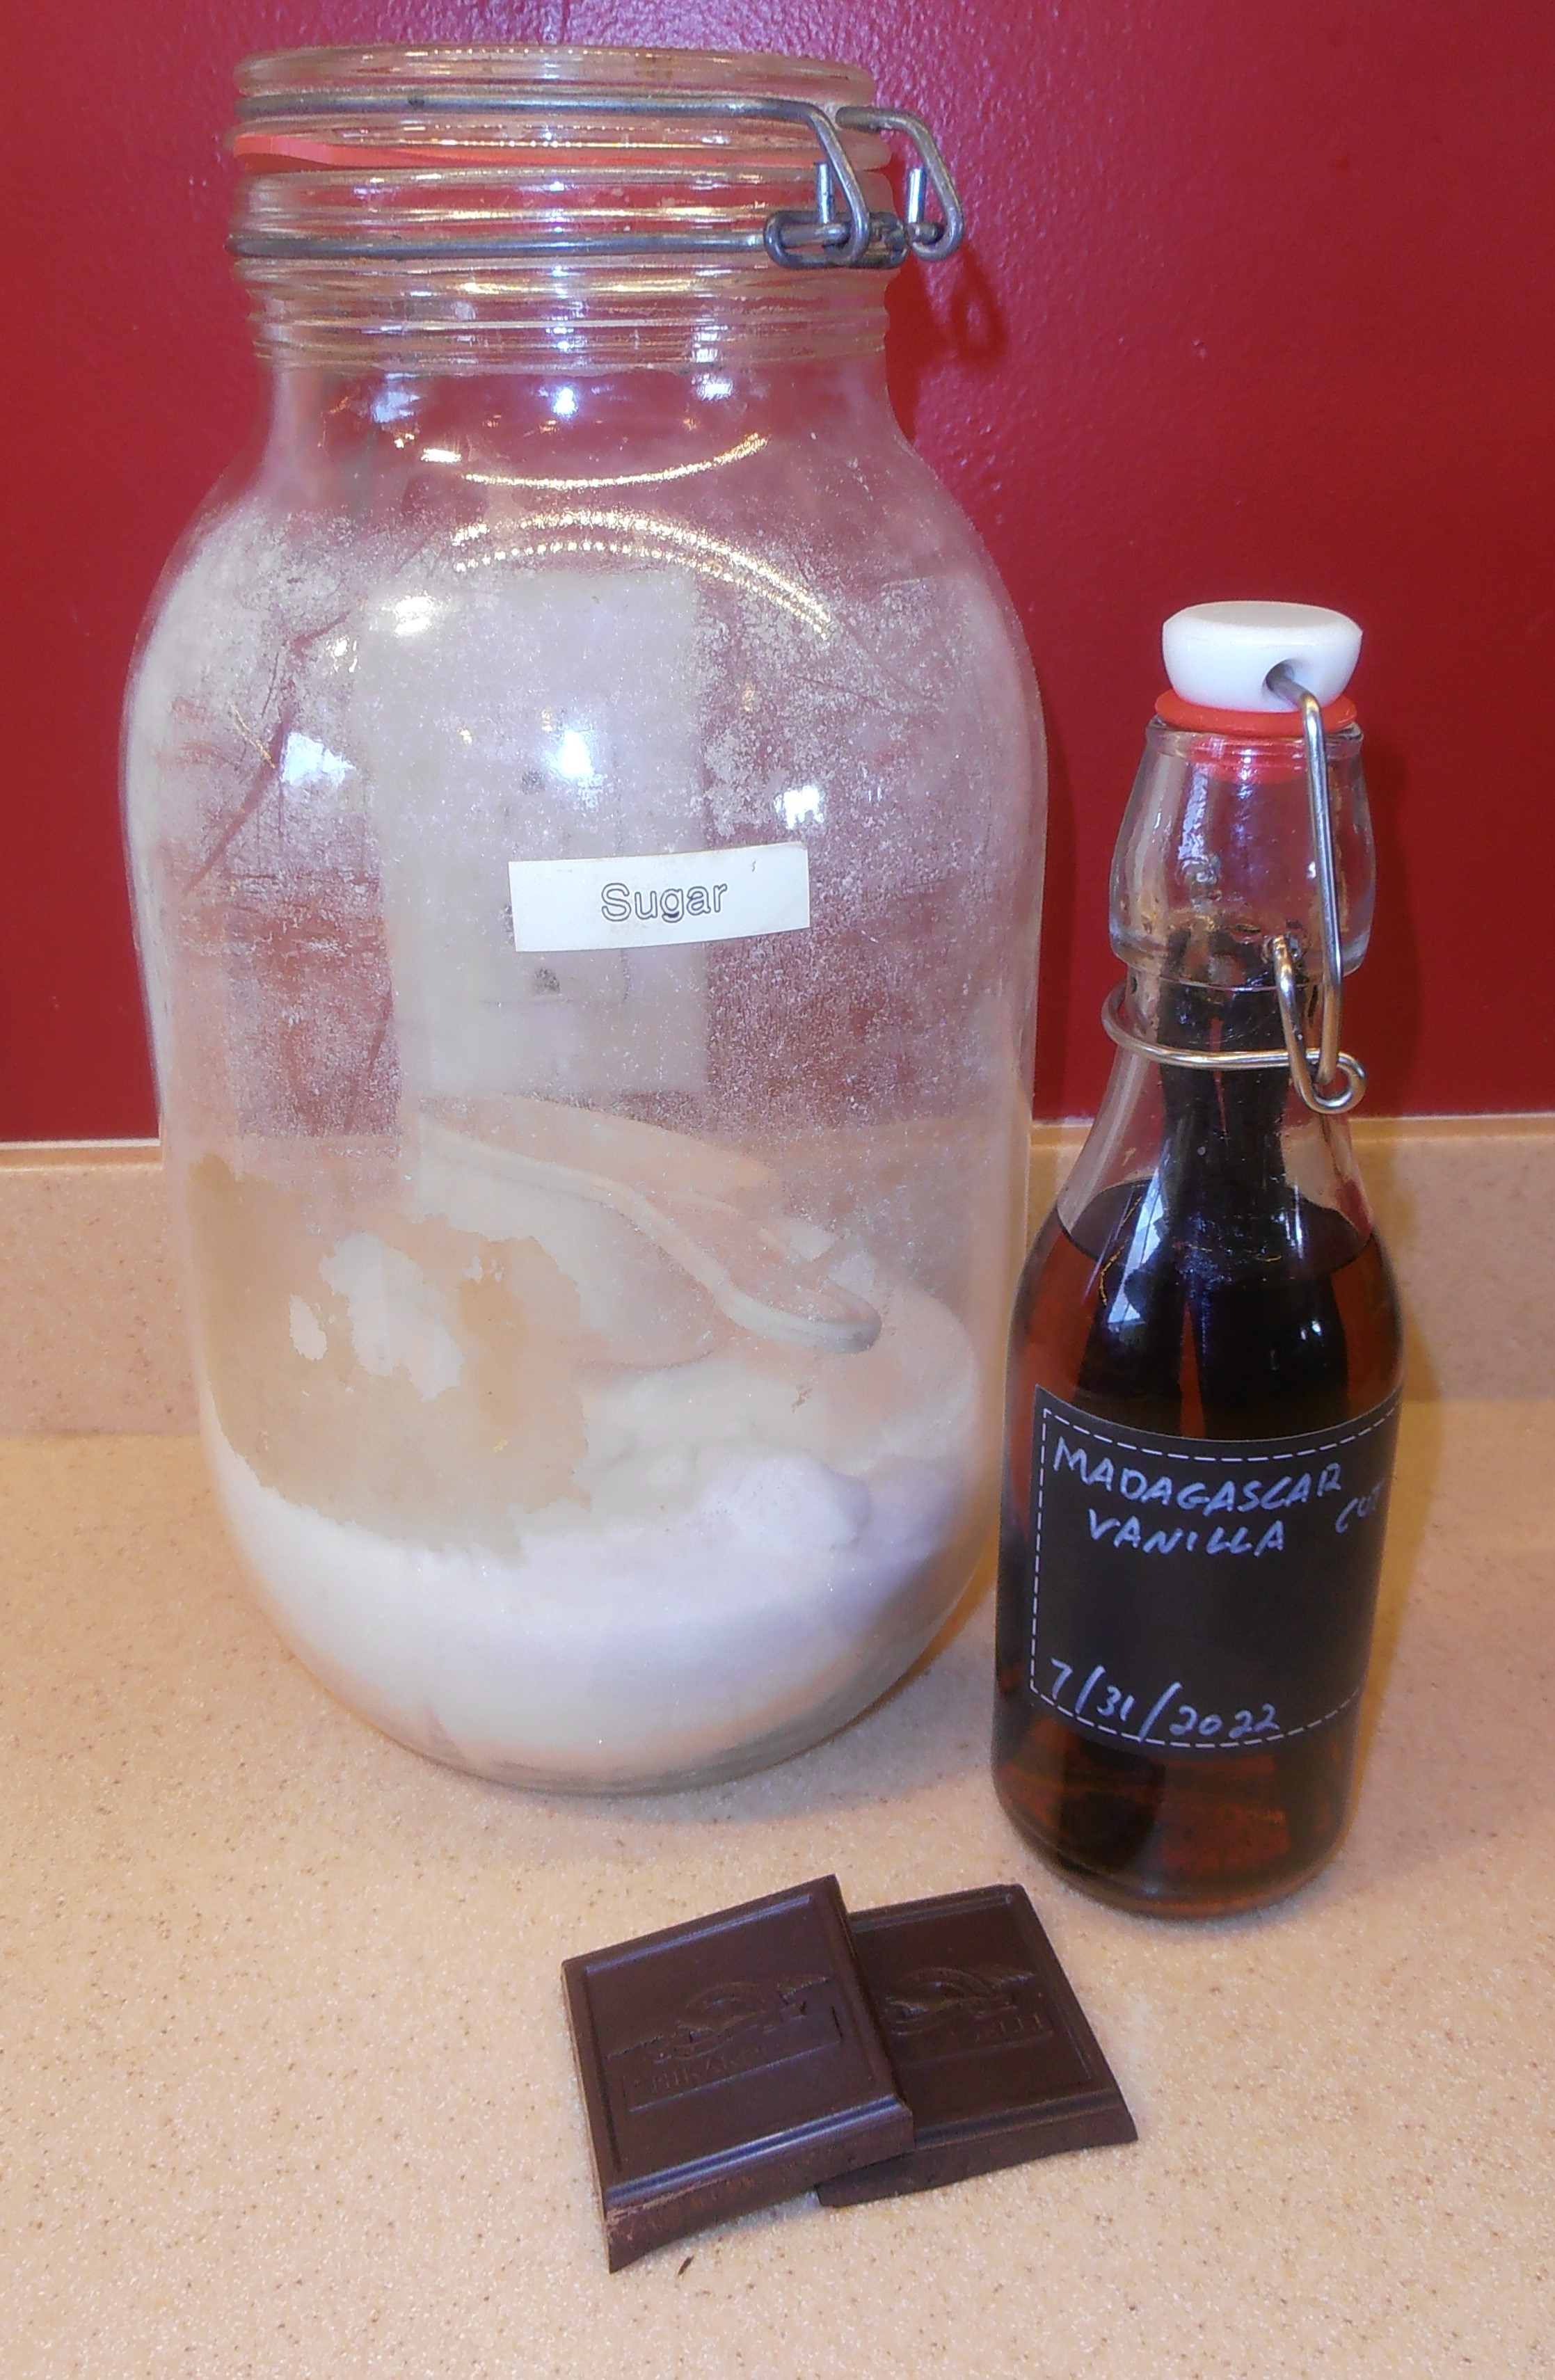
Just add water.

1 cup sugar

2 Tablespoons (1 ounce) baking chocolate, chopped

1/4 teaspoon vanilla 

a little water

Boil it until it threads.  Pour over cake.  Let it sit in a warm oven to get a nice sheen.

My Notes

Thread stage is 215 to 235 degrees F.  

I wasn't sure what "a little water" was, so I put in just enough to melt the sugar and start the cooking process.  It didn't take long to get to 230 degrees, which is when I poured it on the honey cake, spread it, and then put it in the still warm oven for about 8 minutes.

Just a splash of water.  Not enough.

More water, to make it flow.

At about 230 degrees

The Verdict

It looked good, despite the poor job I did of making the glaze.  You can see that the glaze sugared, and did not spread easily.  I probably should have used more water to get it started, and then only cooked it to 215 or 220 degrees F.  But the glaze stuck to the honey cake, so I was happy with that.


Now for the cake.

Well, frankly, it was pretty hard.  I had to really work to cut a square out of the corner for a taste test.  Once it was out, it was hard to bite into.  Not impossible, but certainly challenging.

A good picture but not a good eat.

But I could bite it, so I can report on the flavor.  The spices came through!  They were warming and balanced, and strong enough to make the little cake square interesting without being too strong.  My guest taster described it as "zesty!"  The chocolate glaze was a good choice -- I could taste the chocolate but it mixed with the spices for a good blend.  My guest taster said, "You can certainly taste the chocolate, but the spices, too."

But oh, it was so hard.  I wondered if her recipe called for too much flour.  If it was supposed to be a batter I could pour, then too much flour would be the reason it was so stiff.  Still, I had seen other recipes around the internet that talked about "pounding the dough into the pan."

Another thought I had was how the recipes emphasized letting the baked cake or cookies "age" for a day or two, to let the flavors develop.  I wondered if mine would soften by absorbing moisture from the air.  Then, perhaps, I could cut it.

So I waited.  The next day, it was a little softer:  easier to cut and to bite, but still too hard to make me happy.  The flavors seemed better developed, but I was not sure.  The second day of sitting out on the counter really showed very little change.  It was, perhaps, a tiny bit softer.  It was stressful on my jaw to bite into it.

I've given this a lot of thought, and I compared Ms. Wilder's recipe to others I've seen that were similar.  My conclusion is that her recipe calls for too much flour.  One recipe has a ratio of 2 parts honey and sugar syrup to 1 part flour, so Ms. Wilder's recipe should call for 1/2 cup flour instead of 2 cups.  That should make a batter than can spread.

I want to try that.  If I can, I will, and it will be on a future post.  

I can't really call it a success, although the chocolate frosting tastes great with the spices.  If only the cake was softer!  

Better luck next time.  The spices do make my kitchen smell good.

Wednesday, March 1, 2023

Bizcocho de cajitas -- Little box biscuits, a Pinedo recipe

After being pleasantly surprised by the recipe "Bizcochos de chocolate" turning out to be brownies (click here to see the post), I wanted to explore Encarnacion Pinedo's section on biscuits more.

On pages 33-34, I found "Bizcocho de cajitas", or "Little box biscuits", which was too cute of a name to pass up.  


Little box biscuits.

         A half-pound of powdered sugar is put in a tub, and twelve egg yolks are thrown in; [separately] the whites are beaten well for half an hour.

         Meanwhile another person will be stirring the yolks and sugar with a wooden spatula. Having raised the egg whites to the consistency of solid snow, the yolks with the sugar will be poured over the top, stirring all gently with the same spatula.

         In this state, six ounces of fine flour will be added, two more ounces of powdered sugar, and enough extract of lemon. The flour and sugar powder should have been previously passed through a very fine sieve; finally let everything be mixed well but gently;

precaution must be taken so that the beaten egg whites do not settle or reduce.

         With this dough, little boxes will be half-filled, because while being in the oven the dough becomes very inflated. The boxes can be made of tin or paper.

         The tin-foil boxes are rubbed inside with butter, and when you take them out of the oven, shake them while still hot. Those that are made in white paper boxes can be served in them and are not buttered.

         Before putting them in the oven, be careful to sprinkle them with sifted sugar.

         They should be cooked over high heat until they are deep or fiery yellow.

         Anise can be added instead of lemon.


My Redaction

I chose to scale down the quantities by one-half.  This yielded 24 little box biscuits.

4 ounces powdered sugar
6 eggs, separated
3 ounces flour
1 more ounce powdered sugar
3/4 - 1 teaspoon lemon extract
granulated sugar

Preheat oven to 350 degrees F.  

Put paper muffin cups into a muffin tin, or butter the tin's cups if not using paper.

Mix egg yolks and powdered sugar well.  Set aside.

Beat egg whites until stiff.  

Gently pour the yolk mixture over the whites.  Carefully fold the yolks into the white, making sure to mix all the way down to the bottom of the container.

Mix the flour and extra powdered sugar in a container.  Sift or fluff with a whisk.  Sprinkle gently over the egg white mixture.  

Add lemon extract.  Fold gently until everything is well mixed.  

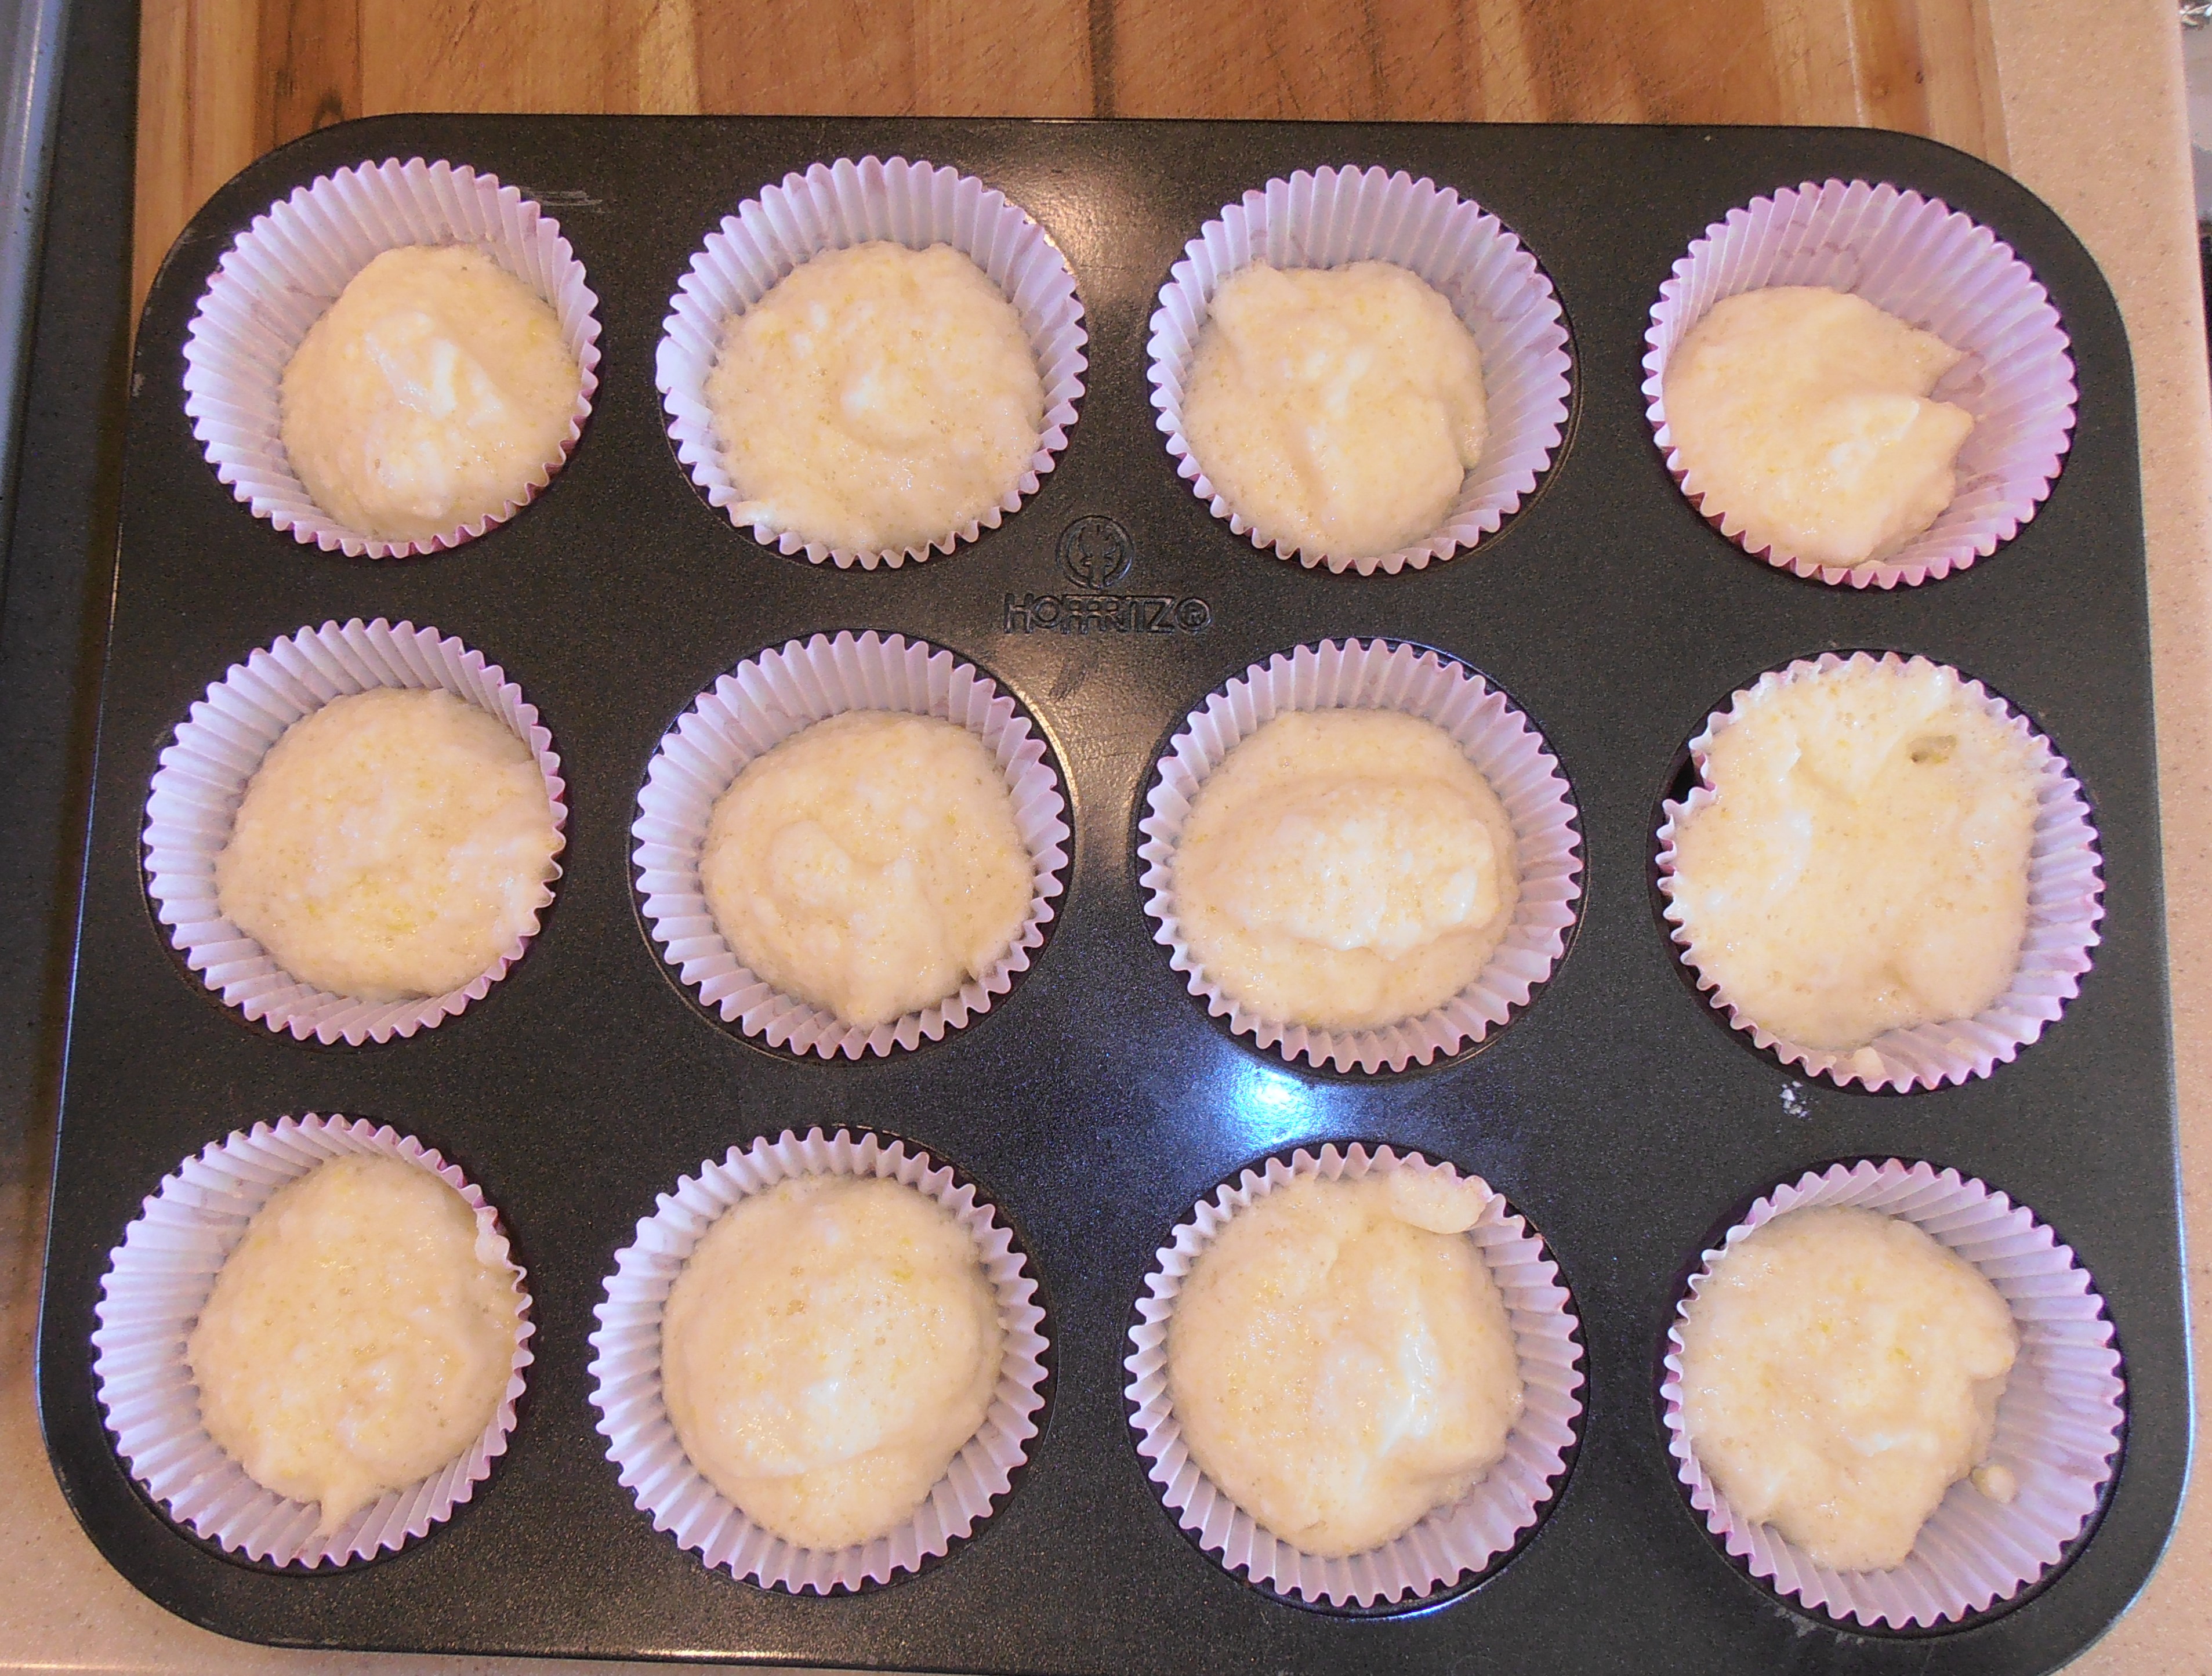
Spoon the batter into the muffin papers, filling them about one-half full.  Sift some granulated sugar over each cup.

Bake 10 to 12 minutes, or until a pick inserted in the middle comes out clean, and the tops are golden brown.

Immediately remove the biscuits from the tin and cool on a rack.


My Notes

Mixing the yolks and sugar first, then letting them sit while the whites are beaten gives the sugar time to dissolve.  

Before

After
I used 3/4 teaspoons lemon extract.  I learned that the book out of which Ms. Pinedo got this recipe specified using the zest of one lemon (in modern terms, about 1 tablespoon) for the whole recipe.  For a half recipe, that comes out to be 1 1/2 teaspoons zest.  3/4 to 1 teaspoons extract seemed the right conversion.

We all have to be grateful for modern mixers that can raise egg whites to "solid snow" in a matter of minutes.  I would not enjoy beating them for 30 minutes by hand.

It's always fun to take pictures of beaten egg whites.
The egg whites will lose some of their puff with all the mixing, but being gentle about it means they won't lose too much.  The heavier yolk mixture tends to sink to the bottom of the mixing bowl, so use a rubber scraper if possible and work to mix it throughout the whites.
Yolks over whites.

Folding.

Sprinkle the flour around, do not dump it on.

And fold again.
I used two spoons to get the batter into the cups:  one to scoop and the other to help push the batter off the first spoon.


The Verdict

These are cupcakes!  More specifically, very much like lemon chiffon cupcakes.  They are soft, light, and fluffy.  The flavor is lightly sweet and barely lemon.  

Beautiful!

Too bad the sparkles don't show up in the photograph
My guest taster and I found them to be more "eggy" than the traditional chiffon cakes; they were more chewy than I had expected.  It makes me wonder if a little more flour would settle that down and give it more of a tender crumb.

Almost a chiffon cake.
Not that we were complaining.  We both enjoyed their flavor and the lightness that accompanied the eggy background.  I think these would make a good base to hold a fruit compote and a little whipped cream, similar to a strawberry shortcake.

After having tried several (don't judge!), I found the lemon flavoring was not consistent.  Some were barely lemon and others had a stronger scent and taste.  To fix this, I would mix the extract into the yolk mixture with the powdered sugar.  This should distribute the extract throughout the batter.  I also think that using zest instead of extract -- still mixing in with the yolks -- would be excellent, if zest was available.

Using 1 teaspoon extract would not be bad, I think.  It would depend on how much you wanted the lemon flavor to come through.

Also, I sprinkled sugar over the top of one batch but not the other.  I noticed that the sugar added a delightful sparkle once the biscuits were baked.

Little box biscuits!  A success!

Sunday, February 19, 2023

Bizcochos de chocolate -- Chocolate biscuits, a Pinedo recipe

As I was reading through my translations of the Pinedo book, I tried to imagine the recipes--how they were made and what they were like when they were completed.  (Search this blog using the keyword "Pinedo" to see more details about this book.)

Some recipes didn't seem to be complete.  I left open the possibility that a recipe might be using a technique I was unaware of, so I didn't automatically assume the recipe was wrong.  Often I looked at other books or websites to see if I could find the same or similar recipes for confirmation.

This recipe, Bizcochos de chocolate, found on page 30, was one that caught my attention.  "Bizcocho" can mean a biscuit, a muffin, or a cake.  Ms. Pinedo used different words for muffin and cake, so I translated it as "Chocolate biscuits."


My Translation

Chocolate biscuits.
Beat or stir six fresh eggs well in a mortar, with one ounce of fine powdered chocolate and four ounces of well-ground sugar. All this is mashed, as I said, in a mortar until it turns into a paste; it is placed on papers or in molds.

I noticed there was no flour mentioned, which seemed odd to me.  So I looked at one of Ms. Pinedo's recipe sources, Nuevo cocinero mejicano (NCM), and found the same recipe on page 77.  That recipe said to use four ounces of flour and ten ounces of powdered sugar.

Ah, a challenge!

I wondered if Ms. Pinedo found a way to make the biscuits without using flour, or if she just made a mistake.  I had to try her recipe.

I had to decide what she meant by powdered chocolate.  My instinct was to get a tablet of Mexican chocolate, the kind you dissolve in hot milk or water for a beverage.  That would provide the chocolate flavor, some fat, and some added flavors like vanilla or cinnamon.

My Redaction (first attempt)

1 ounce Mexican chocolate 
6 eggs
4 ounces powdered sugar


Preheat oven to 350 degrees F.

Line a pan with parchment paper or set out paper muffin cups.

Crush the chocolate tablet in a mortar until finely powdered.  Use a sieve as necessary to separate the powder from the pieces that still need to be crushed.

Mortar and pestle at the ready!

Crushed to a powder.

Mix the chocolate, sugar, and eggs together.  ...  ...  ...


My Notes
This is where I ran into problems.  When the ingredients were mixed, the result was very soupy.  It was clear that the wet-to-dry ratio was wrong.  I was convinced that if I tried to bake it in any amount, I would end up with an omelette.

Chocolate omelette?

It is possible that my large eggs were bigger than those Ms. Pinedo used.  Perhaps I should have used four instead of six.  However, it did not seem likely this recipe was correct.

So I switched to NCM's version.  I added the four ounces of flour and six more ounces of powdered sugar to the mixture.

Improving the wet-to-dry ratio
A thorough mixing yielded a mixture that was more like a batter, although it did not become a paste as the recipes described.  It was this I decided to bake.

Batter up!
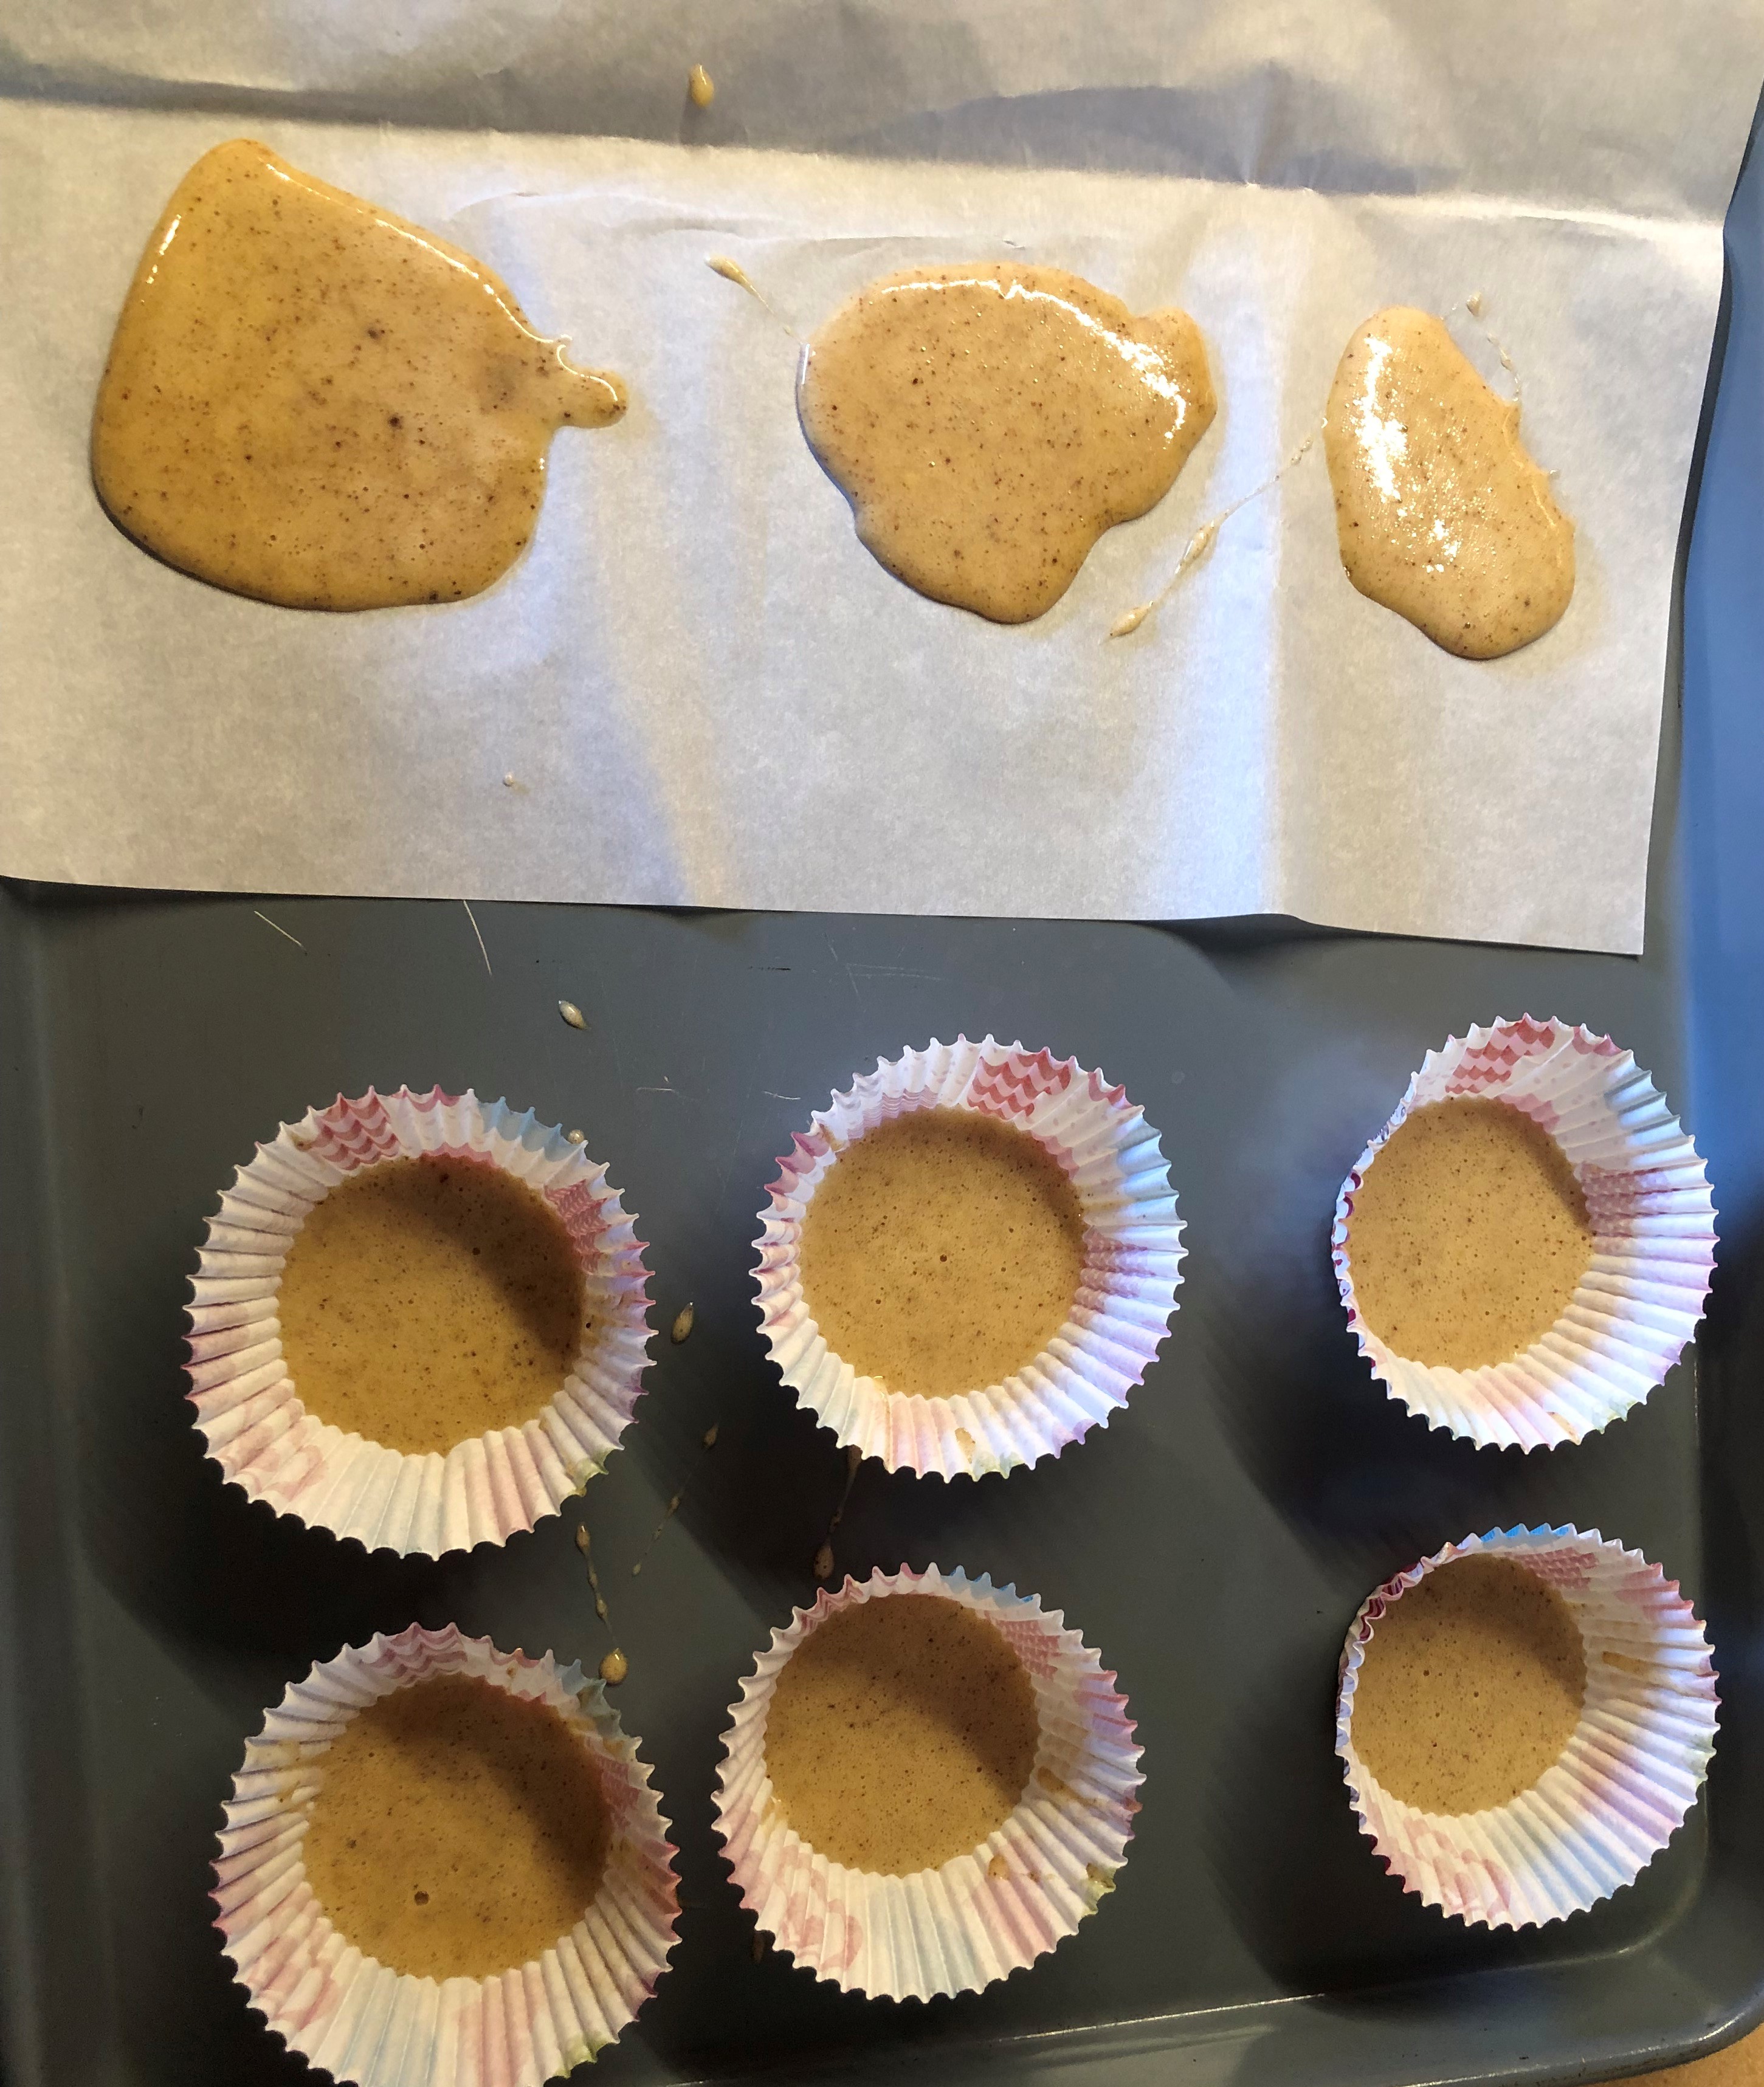
I expected cookies, so I used a ladle to put some batter onto parchment paper and some in a thin layer inside muffin cups.

They baked for 7 minutes, then cooled so I could handle them.  


I was surprised at how fluffy they were!  Even the very thin ones on the paper had risen and had air bubbles.  
On paper

In muffin cup
The flavor was good -- I could taste the flavors from the Mexican chocolate (vanilla, cinnamon) but they didn't really taste like chocolate.  I think if you call it a chocolate biscuit, it should taste like chocolate.  

I decided I should try to bake the ones in the muffin cups with more batter, to get more of a muffin-like result.  I filled the cups to about half full.  Those baked for 15 minutes, which was just right.  A pick inserted in the middle came out clean.


I liked these, too.  The flavor was the same as the thinner ones.  There was more to bite into, which I liked.  One thing that bothered me were the "tubes" I could see inside the biscuit.  This made me think of quick breads that are stirred too much.  The texture wasn't quite right - they were a little rubbery.  One guest taster thought they were dry.  And I still wanted to taste chocolate.

There should not be tubes
So I took the rest of the batter and mixed in 2 tablespoons of cocoa powder.  This made the batter thicker.  These baked for 15 minutes, too, at half full or a little more.
Now that looks like chocolate.

Contrast:  with cocoa powder on the left.
These definitely tasted like chocolate.  The texture was better!  I suspect I should have started with the cocoa powder instead of the tablet of Mexican chocolate.

Barely any tubes.  More even texture.
My guest taster liked them all but agreed that the chocolate biscuits were the best.  

My next goal was to determine what recipe would work without having to make all the adjustments.  I wanted to start with cocoa powder (not Mexican chocolate), flour, and powdered sugar.  Then I would add the beaten eggs one at a time until I thought the wet-to-dry ratio was right.  

It turns out that three eggs was just right.  Two made it dry, and three made it a thick batter.  No, I never got a paste.

My Redaction (final attempt)

4 ounces flour
10 ounces powdered sugar
1 ounce cocoa powder
3 eggs

Preheat oven to 350 degrees F.

Set out 10 - 12 paper muffin cups on a baking sheet or in a muffin tin.

Mix dry ingredients together.  Beat the eggs together, then add to the dry mixture.  Stir well.

Ladle or spoon into muffin cups; fill about half full.  Bake for 18-20 minutes, or until a wooden pick inserted into the center comes out clean.

A thick batter

Into the cups.  This is too full.

Notice the smooth tops?

Dense.  Moist.

The Verdict

The smooth tops after baking gave me a hint.  One bite told me the rest.  These are brownies!

Or perhaps proto-brownies.  They weren't as dense and moist as a typical modern brownie, and they weren't "fudgy", but they tasted like chocolate and were enjoyable to eat.  

Comparing them to modern brownies, they did not require butter (which would have made them moister) or baking powder/soda.  They didn't need salt or vanilla.  If I had baked them for about 18 minutes instead of 20, they might have been moister.  

The flavor was chocolate, the sweetness level was just right, and I liked the texture.  They were chewy, too.

Success, finally!

Wednesday, February 1, 2023

Rock Fish in sauce -- a Pinedo recipe

My neighbors, G & T, gave me some dorado filets that G had caught himself.  Wonderful of them to share it with me!  I had to do it an honor by cooking a Pinedo recipe.  (Search this blog under the keyword "Pinedo" to see all of the posts and why she is important to me.)

This recipe is on page 203.

My Translation

Rock fish in sauce.

         Cut the fish into large slices. On the other hand, onion and garlic are fried in butter with salt and pepper, and when the onion is well browned, a glass of claret wine is added.

         Place the fish slices in this sauce, covering the casserole well and letting it cook over a low heat for fifteen minutes.


My Redaction

True confessions:  I made this recipe twice.  The first time was with some store-bought tilapia.  I want to present both versions so you can make choices.  The italicized ingredients are the ones that differ between versions.

First version:

1 pound tilapia

1 large onion, sliced into narrow strips 1 to 2 inches long

2 tablespoons butter

1/4 teaspoon salt

1/2 teaspoon pepper

1 tablespoon chopped garlic

6 ounces cabernet wine  


Second version:

1 pound dorado

1 large onion, sliced into narrow strips 1 to 2 inches long

3 tablespoons butter

1/2 teaspoon salt

1/2 teaspoon pepper

1 tablespoon chopped garlic

6 ounces pinot noir wine

Ingredients with the dorado

Melt the butter in a Dutch oven.  Add the onions and cook over medium heat, stirring occasionally, until they begin to brown.  Add the garlic, salt, and pepper; cook a few minutes longer, stirring continuously to avoid burning the garlic.

Add the wine and stir well.

Add the fish filets.  For the tilapia, I spooned about half of the onion-wine sauce over the top of the fish.  For the dorado, I put the filets in skin side UP and made sure the filets were imbedded in the sauce.

Turn the heat to low.  For the tilapia, I forgot to cover the pan, so it cooked 23 minutes until the meat was flaking.  For the dorado, I covered the pan and cooked it 15 minutes for the meat to be flaky.

Onions just starting to brown, with seasonings added.

The entire sauce.

Note that the filets are pushed down into the sauce for cooking.

Cooked.  One filet was turned over to check on doneness.

The Verdict

I served the filets in a bowl with some of the sauce spooned over the top.  It was good to have the onion mixture already on top of the fish when served.  I didn't include a lot of the liquid into the bowl.  I used a spatula to move the filets to our plates, which included the cooked onions but not the liquid part of the sauce (not much, anyway).

I think some fresh parsley on top would have been pretty.

The meat was, as said, flaky, and very moist.  The flavor was good in both cases, with two differences.

First, the tilapia needed more salt, which is why I increased the salt quantity for the dorado version.  The sauce on the tilapia was bright and tangy, which I thought came from the cabernet (acid and fruity) and the pepper.  I chose cabernet because it is close to claret, which I didn't have on hand.

In contrast, the dorado had just the right amount of salt, but the sauce was not as bright or tangy.  The pinot noir just didn't have the robust flavor of the cabernet, so while it was good, it was not as good.  I wanted that tang on my tongue.

In both versions, my guest taster and I thoroughly enjoyed the fish.  The fact that I didn't overcook them (and I think it would be hard to do it with this technique) made it good, and the sauce with the onions made it even better.  The onions were cooked enough that they added their sweetness, the butter added a good mouthfeel, and the garlic-salt-pepper seasoning was just right.  The garlic flavor was a supporting role:  it didn't stand out but it did add its distinctive flavor to the background.

Success, twice!

I have to say that this recipe is very easy to prepare, and I got a lovely main course out of it.  While everything was cooking, I put together the rest of the meal.  For example. the dorado had a side Caesar salad, a quinoa pilaf, and some cranberry sauce.

A good dinner.


Cookies Consent

This website uses cookies to offer you a better Browsing Experience. By using our website, You agree to the use of Cookies

Learn More