"Bannock" is a Northern English and Scottish word of Celtic origin. The Oxford English Dictionary states the term stems from panicium, a Latin word for "baked dough", or from panis, meaning bread. Its first cited use was in 1000, and its first cited definition in 1562.But I also found, in "Bannock: a brief history",
The Inuit call it 'palauga,' it's 'luskinikn' to the Mi'kmaq, while the Ojibway call it 'ba `wezhiganag.' Whatever they call it, from north to south and coast to coast, just about every indigenous nation across North America has some version of bannock.Other sites make the point that "bannock" could refer to the cooking style (frying or baking next to the fire) or the loaf itself: "Bannock is a variety of flat quick bread or any large, round article baked or cooked from grain." (Wikipedia) Native American bannocks are often called "frybreads."
In the book, Spirit of the Harvest,
 |
| ISBN 1-55670-186-1 |
Chippewa bannock is closely related to cornmeal johnny-cakes, ash cakes, and corn pones. All of these cakes, though best when eaten hot, were a practical food to take along when the tribe was on the move or warriors were out hunting.
Chippewa Bannock (page 74)
1 1/2 cups cornmeal
1/2 cup water
4 tablespoons hazelnut oil, melted butter, or bacon drippings.
4 tablespoons maple syrup or honey
1/2 teaspoon salt (optional)
3 to 4 tablespoons cooking oil for frying
 |
| And water. |
In a large skillet, heat 2 tablespoons oil over medium-high heat. Drop batter by tablespoonfuls into hot oil. Flatten with spatula and fry cakes until crisp and browned on both sides. Add more oil as needed. Serves 4 to 6.
My Notes
I used melted butter and maple syrup and the salt.
This was very easy to mix together and I fried it in my cast iron skillet in several batches so as not to crowd them.
 |
| Pretty easy! |
 |
| After the flip. |

The Verdict
As mentioned in the previous post, I served this with Salmon Chowder. It was a good accompaniment.
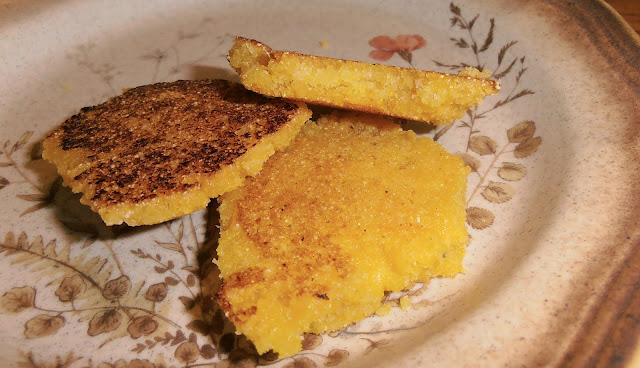
The flavor was slightly sweet (hooray for maple syrup!) with a lovely corn flavor. The outside was crunchy and the inside was soft (but thoroughly cooked). I am glad I put in the salt and it did not need any more.
It was fun to pick it up with my fingers! It was not greasy or oily to the touch but the butter flavor shown through.
I think the thickness I picked was just right:
 |
| At most 1/2 inch thick. |
I will confirm that they were better hot but still tasty cold.
No comments:
Post a Comment