She also received, as a gift, a book on Uzbek recipes, titled Samarkand, Recipes and Stories from Central Asia & the Caucasus, by Caroline Eden and Eleanor Ford.

One recipe that sounded so inviting has been on my mind to try for a long time. The only issue was getting a pie pumpkin instead of a jack-o-lantern pumpkin. The former are edible and the latter are bitter and tasteless. My persistence and patience paid off recently as I found a little side-of-the-road produce stand that had what I've been looking for.
So now I can make the
Pumpkin Stuffed with Jeweled Rice
1 pumpkin (about 2 1/4 pounds)
olive oil
2 teaspoons ground cinnamon
1 scant teaspoon ground cardamom
1 teaspoon dried chile flakes
1/2 cup dried barberries or unsweetened dried cranberries
2 tablespoons orange blossom water
generous pinch of saffron strands
1/2 cup sliced almonds
1/2 cup pistachios, chopped
1 orange
2 tablespoons sugar
2/3 cup dried sour cherries
1/2 cup basmati rice, rinsed
sea salt and freshly ground black pepper
4 tablespoons butter

Preheat the oven to 425 degrees F. Cut a lid off the pumpkin and reserve it. Scrape out the seeds and straggly strands and discard. Continue scooping out more of the flesh, leaving the shell about 1-inch thick (save the flesh for soup). Rub the inside of the pumpkin with a little olive oil and the cinnamon, cardamom, and dried chile. Season with salt and pepper. Roast for 30 minutes.
Meanwhile, put the barberries into a bowl of cold water and let soak for about 15 minutes, then drain. Put the orange blossom water into a small bowl and crumble in the saffron. Set aside. Toast the almonds and pistachios in a dry pan. Set aside.
Use a peeler to remove half the orange zest in strips. Slice these crosswise into thin slivers. Bring a small pan of water to a boil, drop in the orange zest, boil for 1 minute, then drain and refresh under cold running water (this removes the bitterness.) Return the pan to the heat and add the sugar and a generous splash of water. Heat to dissolve the sugar, then add the orange zest and cook the liquid down to a syrup. Remove from the heat and stir in the toasted nuts, barberries, and sour cherries. Set aside.
Partially cook the rice in fast-boiling water for 6 minutes. Drain. Stir the fruity nut mixture through the rice, then drizzle with orange blossom water. Season well. Spoon the jeweled rice into the pumpkin, top with the butter, and place the lid back on top.
Tear off a piece of aluminum foil large enough to double wrap the pumpkin and lay out on a baking sheet. Sit the pumpkin on top, rub the skin with a little olive oil, and wrap the foil around it. Roast for another 30 to 60 minutes until the flesh is tender and a knife goes in easily (allow more roasting time if there is resistance to the knife). Let sit for 10 minutes before serving.
My Notes
I used barberries, of course! My sour cherries were whole, seeded, and frozen, not dried, so I used about 1/2 cup. The pistachios were already dry roasted and salted, so when I toasted them, I just barely got some of them browned. I used regular rice, not basmati, and about 1 tablespoon of butter instead of 4.
My pumpkin weighed about 4 1/2 pounds before cleaning, and the shell was less than 1 inch thick, so I didn't scoop out any of the flesh. I mixed the cinnamon, cardamom, and chile flakes in a bowl then added some salt and pepper. It was this I spread on the inside of the pumpkin before roasting. The spice mixture was surprisingly thick.
 |
| Post-first-roasting. |
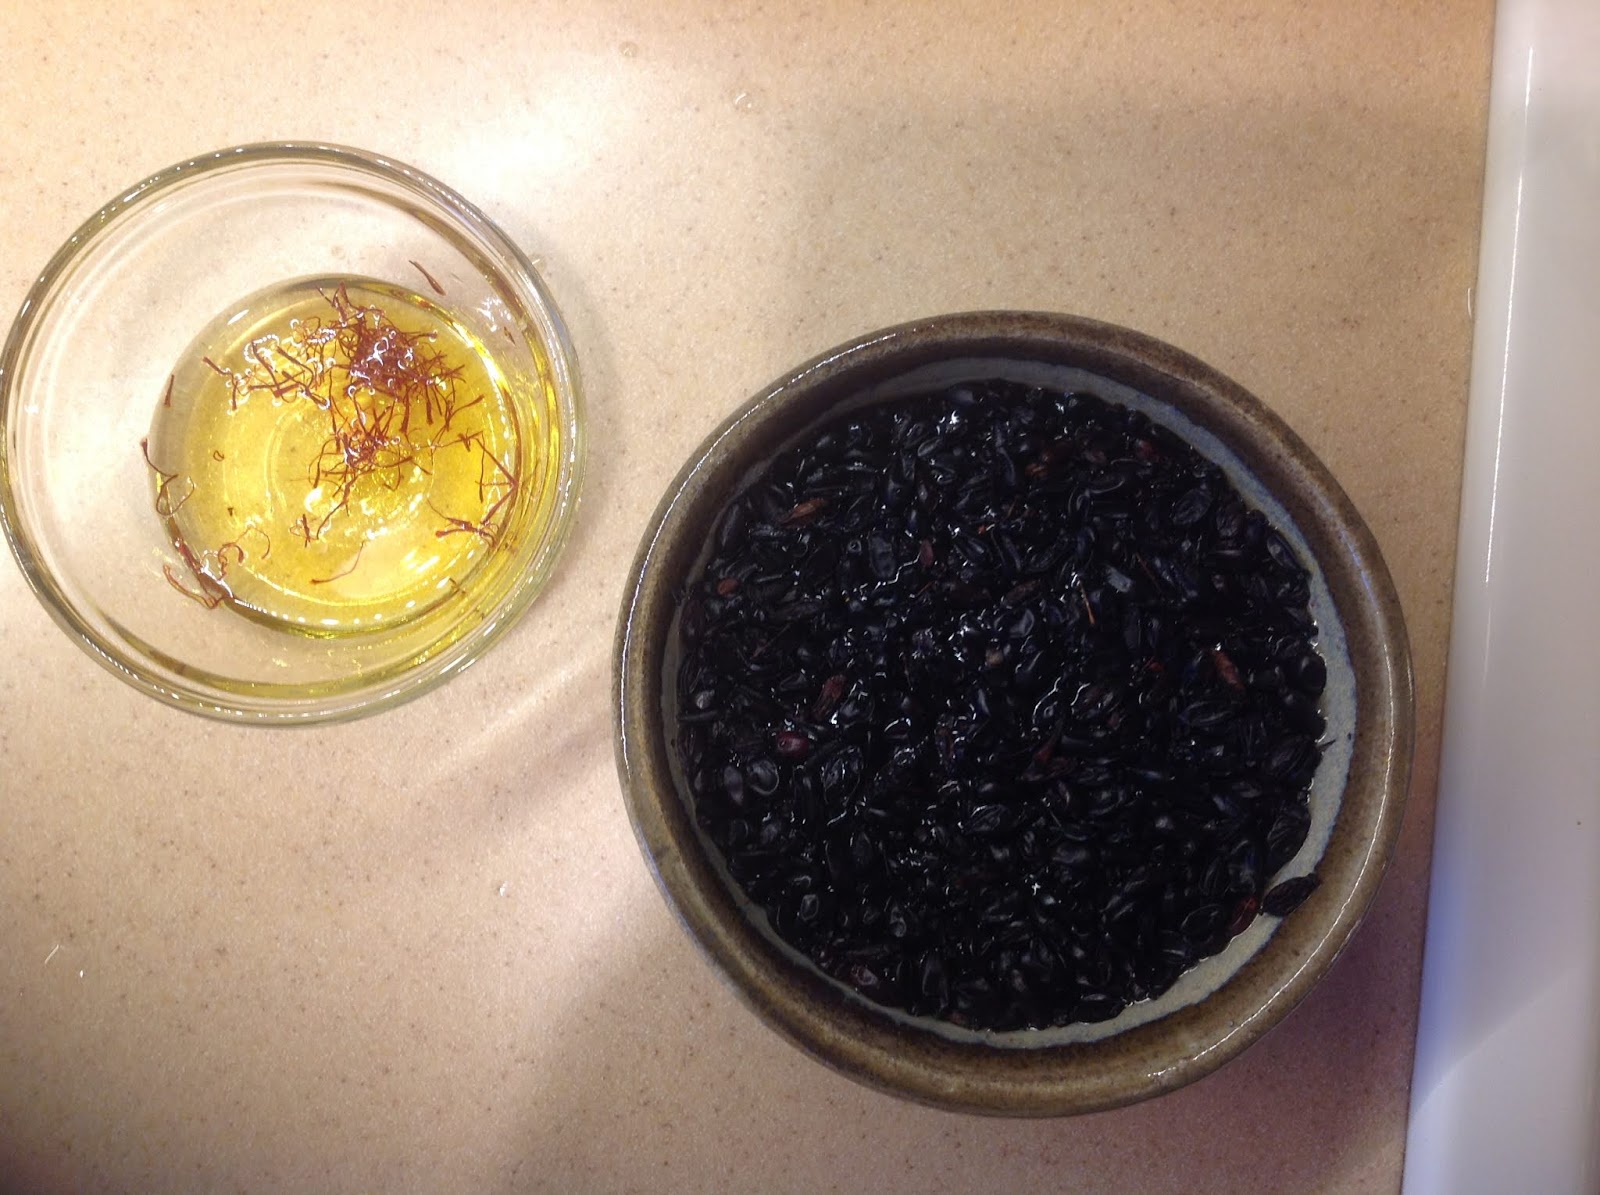 |
| I forgot to crumble the saffron. |
 |
| While boiling down to syrup |
 |
| The fruity nut mixture before the rice was added. |
The quantity of jeweled rice fit the inside of the pumpkin perfectly!
Important: The pumpkin was still pretty hot from its first roasting when it was time to rub the skin with olive oil before wrapping in foil. Be careful! I had to rub quickly to avoid burning my fingers.
After 30 minutes of the second roasting, the pumpkin was cooked to tender. I tested it by stabbing it with a knife through the foil. : ) The pumpkin rested its ten minutes while I finalized the accompanying meat dish.
The Verdict
I served it as a side dish to the Pork Roasted in Milk, and accompanied by a tossed green salad. I first served it with the lid on but that made it hard to serve, so I removed the lid, which looked pretty good.
The text suggested cutting the pumpkin in wedges for serving, which I did.

A lot of the rice mixture fell out during the "transfer from the pumpkin to the plate" but it was easy enough to scoop it back up and pile it on the wedge and on the plate around the wedge.
It was an attractive presentation -- we all agreed that the jeweled rice was dramatic and the pumpkin wedge with it intriguing. I will describe the flavors of the two separately.
The rice stuffing was very tasty: The fruits (cherry and barberry) were tart and kept the filling from being too much like a dessert, but still added a sweetness that kept it from being too tart. The nuts and the barberry seeds added a lovely crunch to offset the softness of the rice and fruits. The orange zest and orange blossom water flavors were very muted but, I think, added a dimension of flavor that rounded out the overall taste experience.
The spices on the inside surface of the pumpkin contributed to the flavor blend, although I was not pleased with the occasional bite of the chile flakes. My guest tasters liked it, though, and I know I am a "flavor, not fire" person, so I decided I could live with it for their sake. I thought it was interesting that those spices were there and not mixed into the stuffing at all. It seemed to be an interface that brought the two parts, pumpkin and stuffing, together.
The pumpkin itself was not exciting. I think it added something flavorwise to the rice mixture but I think it would be better to stuff a squash that had more flavor of its own. We discussed the idea of fixing the stuffing without the pumpkin and thought, while it might be good, it would be missing something. I suspect the pumpkin provided moisture to help finish cooking the rice, too.
So, success! It paired well with the pork and the salad. The leftovers await my attention for another day and I look forward to having them.
I think it would make a good stuffing for a turkey or a chicken, too. The meat juices would add a lovely, savory dimension. Perhaps I will give it a try.
 |
| Nicely portioned. |
After 30 minutes of the second roasting, the pumpkin was cooked to tender. I tested it by stabbing it with a knife through the foil. : ) The pumpkin rested its ten minutes while I finalized the accompanying meat dish.
The Verdict
I served it as a side dish to the Pork Roasted in Milk, and accompanied by a tossed green salad. I first served it with the lid on but that made it hard to serve, so I removed the lid, which looked pretty good.
The text suggested cutting the pumpkin in wedges for serving, which I did.

A lot of the rice mixture fell out during the "transfer from the pumpkin to the plate" but it was easy enough to scoop it back up and pile it on the wedge and on the plate around the wedge.
It was an attractive presentation -- we all agreed that the jeweled rice was dramatic and the pumpkin wedge with it intriguing. I will describe the flavors of the two separately.
The rice stuffing was very tasty: The fruits (cherry and barberry) were tart and kept the filling from being too much like a dessert, but still added a sweetness that kept it from being too tart. The nuts and the barberry seeds added a lovely crunch to offset the softness of the rice and fruits. The orange zest and orange blossom water flavors were very muted but, I think, added a dimension of flavor that rounded out the overall taste experience.
The spices on the inside surface of the pumpkin contributed to the flavor blend, although I was not pleased with the occasional bite of the chile flakes. My guest tasters liked it, though, and I know I am a "flavor, not fire" person, so I decided I could live with it for their sake. I thought it was interesting that those spices were there and not mixed into the stuffing at all. It seemed to be an interface that brought the two parts, pumpkin and stuffing, together.
The pumpkin itself was not exciting. I think it added something flavorwise to the rice mixture but I think it would be better to stuff a squash that had more flavor of its own. We discussed the idea of fixing the stuffing without the pumpkin and thought, while it might be good, it would be missing something. I suspect the pumpkin provided moisture to help finish cooking the rice, too.
So, success! It paired well with the pork and the salad. The leftovers await my attention for another day and I look forward to having them.
I think it would make a good stuffing for a turkey or a chicken, too. The meat juices would add a lovely, savory dimension. Perhaps I will give it a try.
 |
| Oh, the drama! |


